Applications
This guide explores working with applications. Applications are deployable workloads that Epinio builds, deploys, and manages on Kubernetes. For more information, see the applications reference page.
View Applications
- UI
- CLI
To view all your applications, navigate to the Applications page in the side navigation menu. Applications are grouped by namespace.
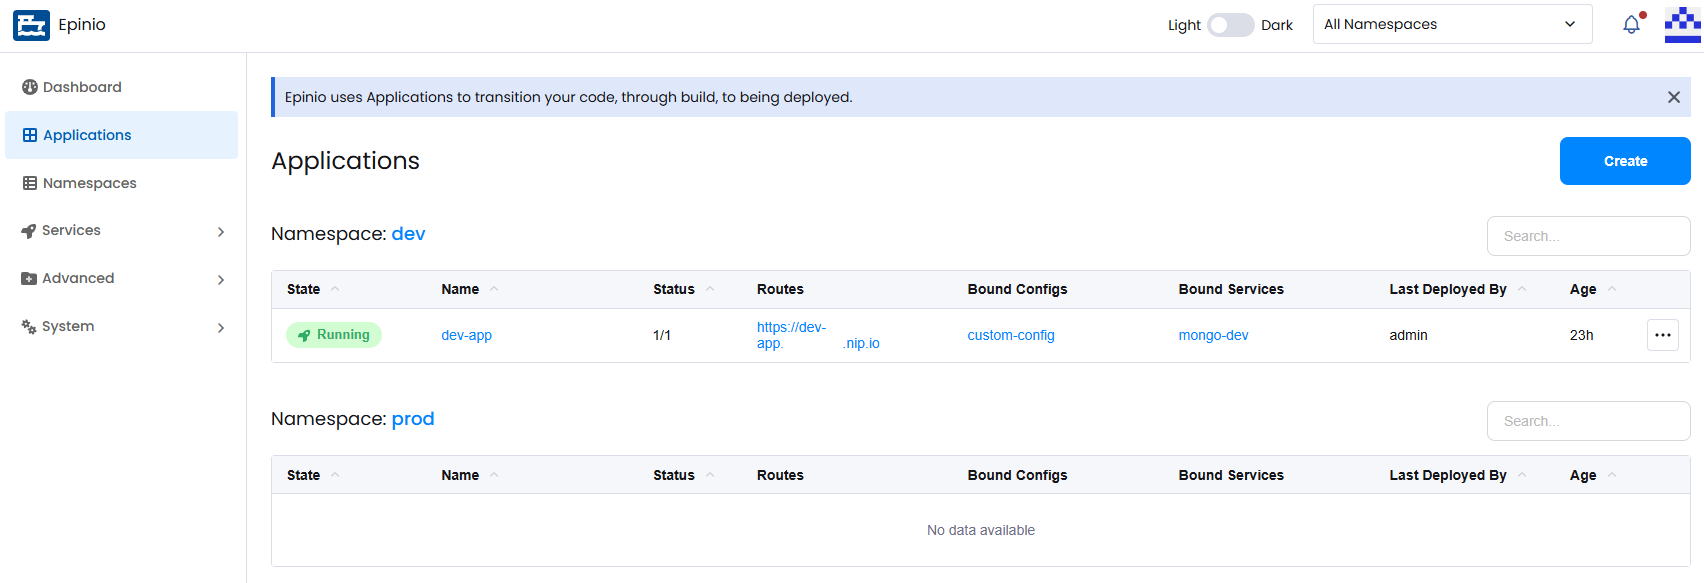
List all applications:
epinio app list
Create an Application
- UI
- CLI
Click Create on the Applications page to open the creation modal. App creation involves four steps.
Application Source
Provide your application source to Epinio. If you have an application manifest you can upload it directly. Otherwise, you can provide your source in any of the following ways:
- Container image
- Archive file
- From folder
- Git URL
- GitHub
- GitLab
Selecting any of the Git options will allow you to select from your git configurations so Epinio can access private repos/projects.
After providing your source, choose a Build Method. Epinio offers this for every source type it builds; a container image is already built, so it has no build method.
- Buildpack (Paketo) is the default. Epinio detects your language and framework and builds the image for you. Select the builder image you would like it to use.
- Dockerfile builds the image from a Dockerfile in your own sources. The Builder Image selector is replaced by a Dockerfile Path field, which defaults to
Dockerfile. Set it to the path of your Dockerfile relative to the root of your sources, for exampledocker/Dockerfile.
For which one to pick and what changes between them, see build modes.
Finally, select the application chart you would like Epinio to use when deploying your application.
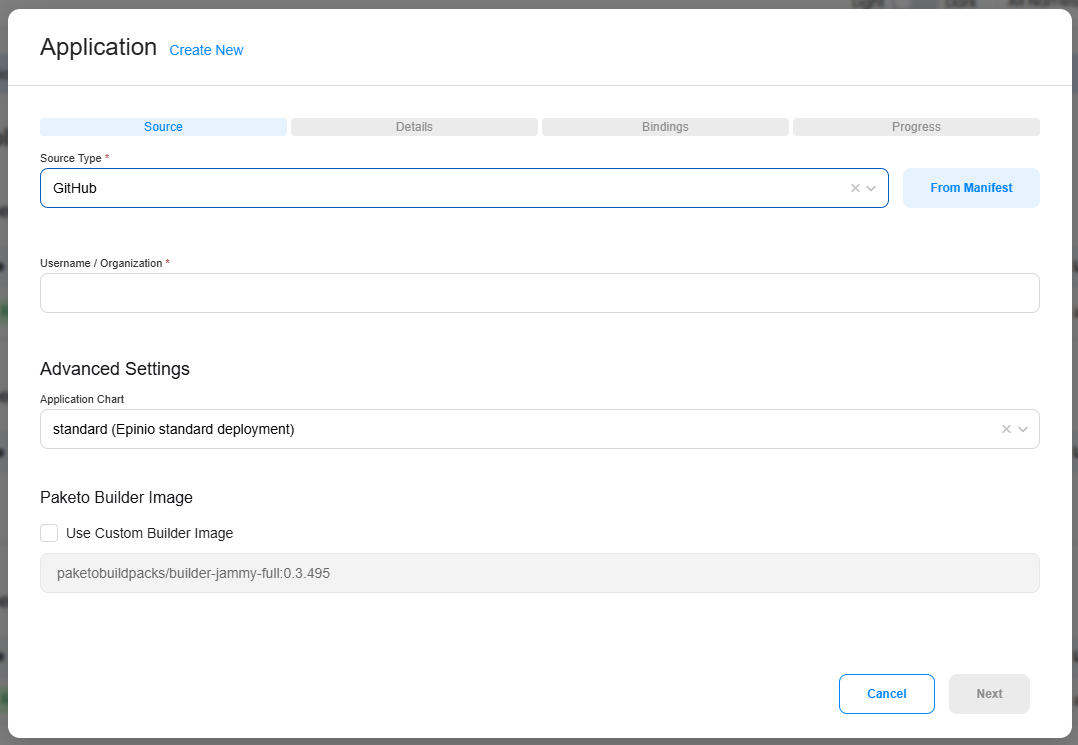
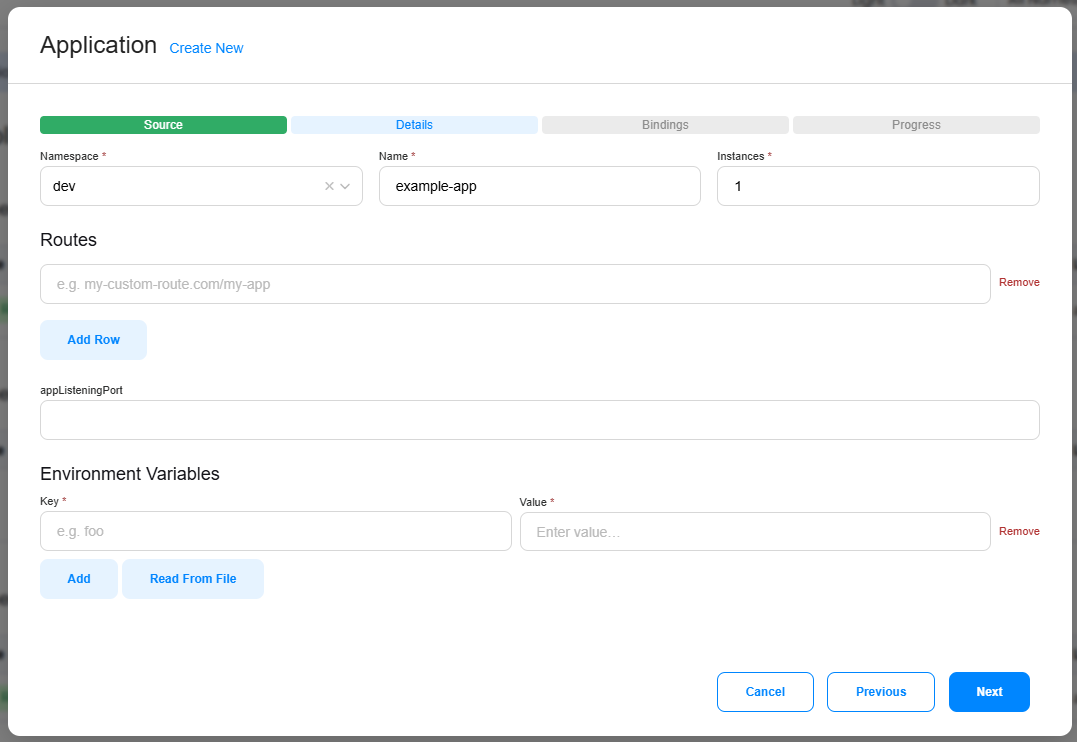
Application Details
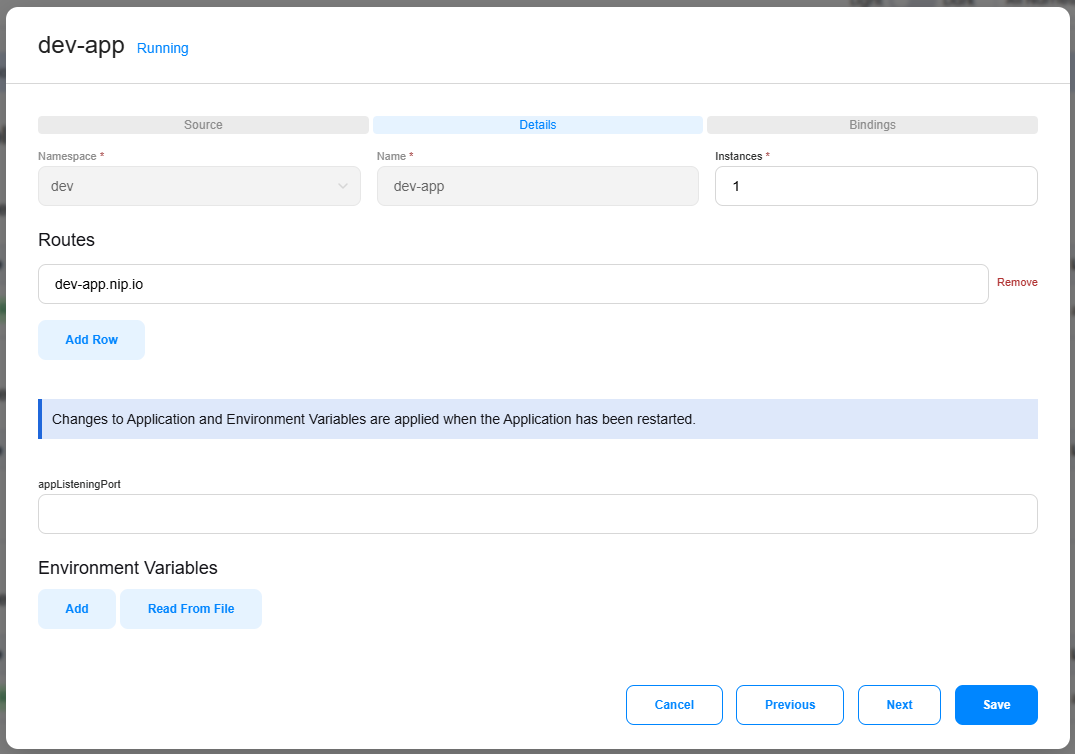
Assign your application to a namespace and provide it a name. You can also configure the number of instances, set custom routes, define environment variables, and, depending on the selected application chart, configure additional chart-specific settings.
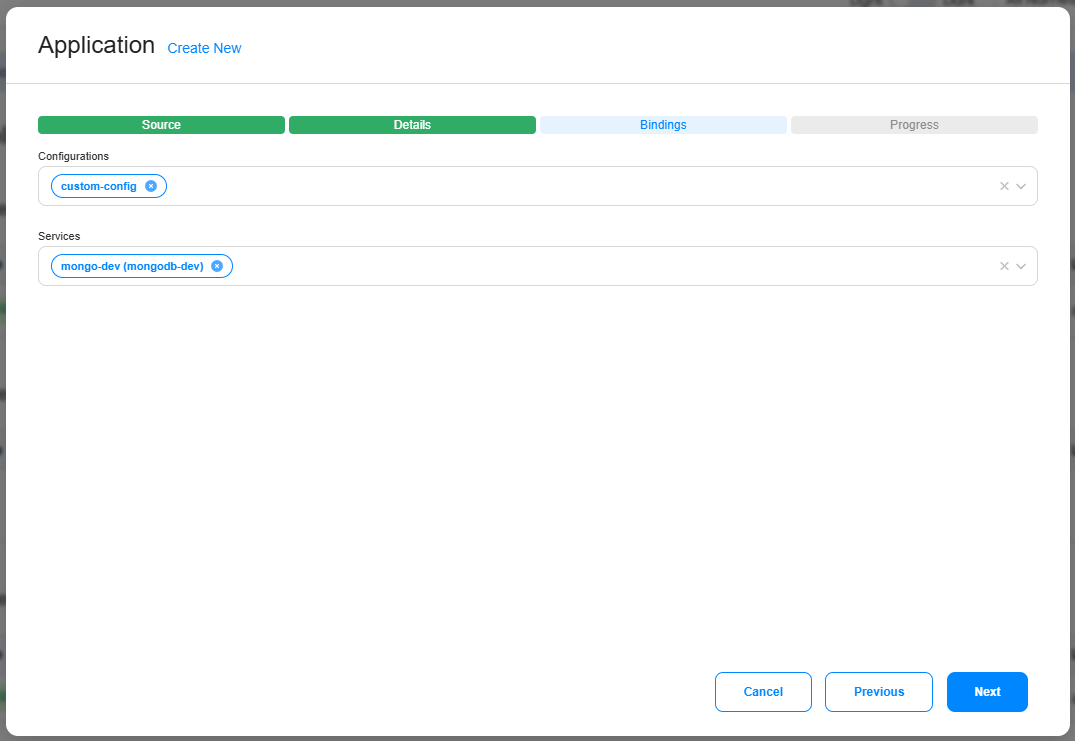
Application Bindings
Bind any configurations and services that your application requires. Bindings are limited to resources in the same namespace.
Application Progress
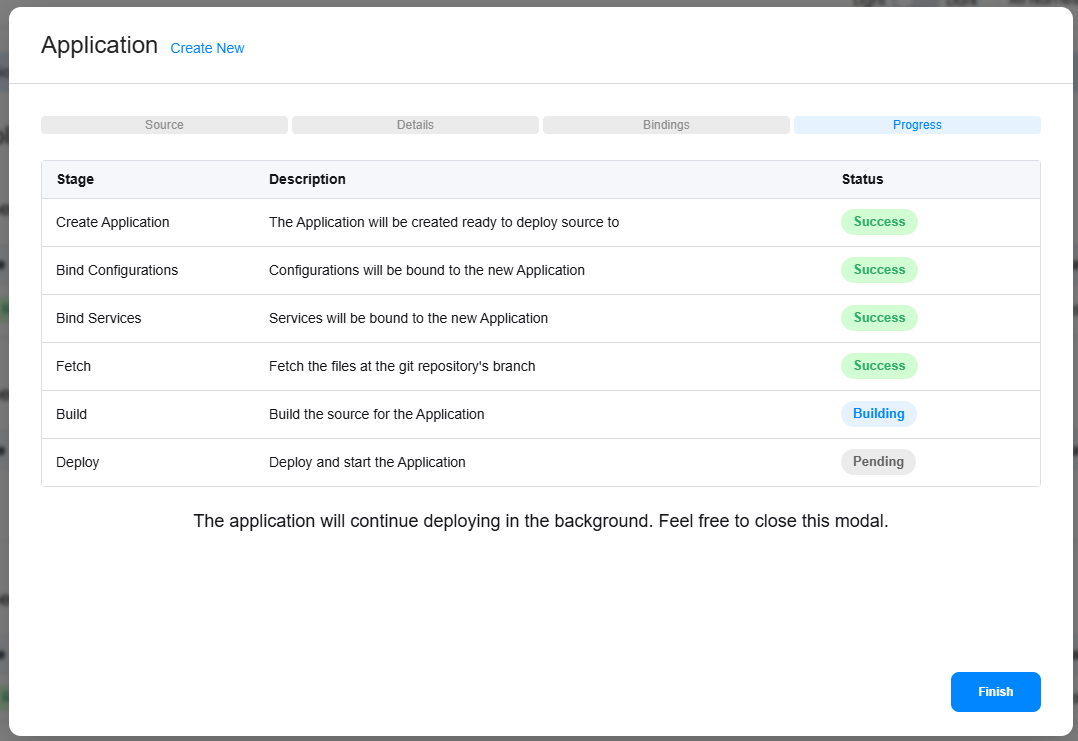
Epinio will now build and deploy your application. You can watch the progress in the modal or close it, creation continues in the background and you will be notified when complete. A shell terminal will also appear at the bottom of the screen to let you monitor the process in real time.
Deploy an application from the current directory:
epinio app push -n myapp
This builds with buildpacks. To build from a Dockerfile in your sources instead:
epinio app push -n myapp --build-mode dockerfile
--dockerfile-path selects a Dockerfile that is not at the root of your sources:
epinio app push -n myapp --build-mode dockerfile --dockerfile-path docker/Dockerfile
The path is relative to the root of your sources. Absolute paths and .. segments are
rejected. When pushing from a local folder, Epinio checks that the file exists before
uploading anything.
Both settings can live in an application manifest instead, so a push does not have to repeat them:
name: myapp
staging:
  buildMode: dockerfile
  dockerfilePath: docker/Dockerfile
View Application Details
- UI
- CLI
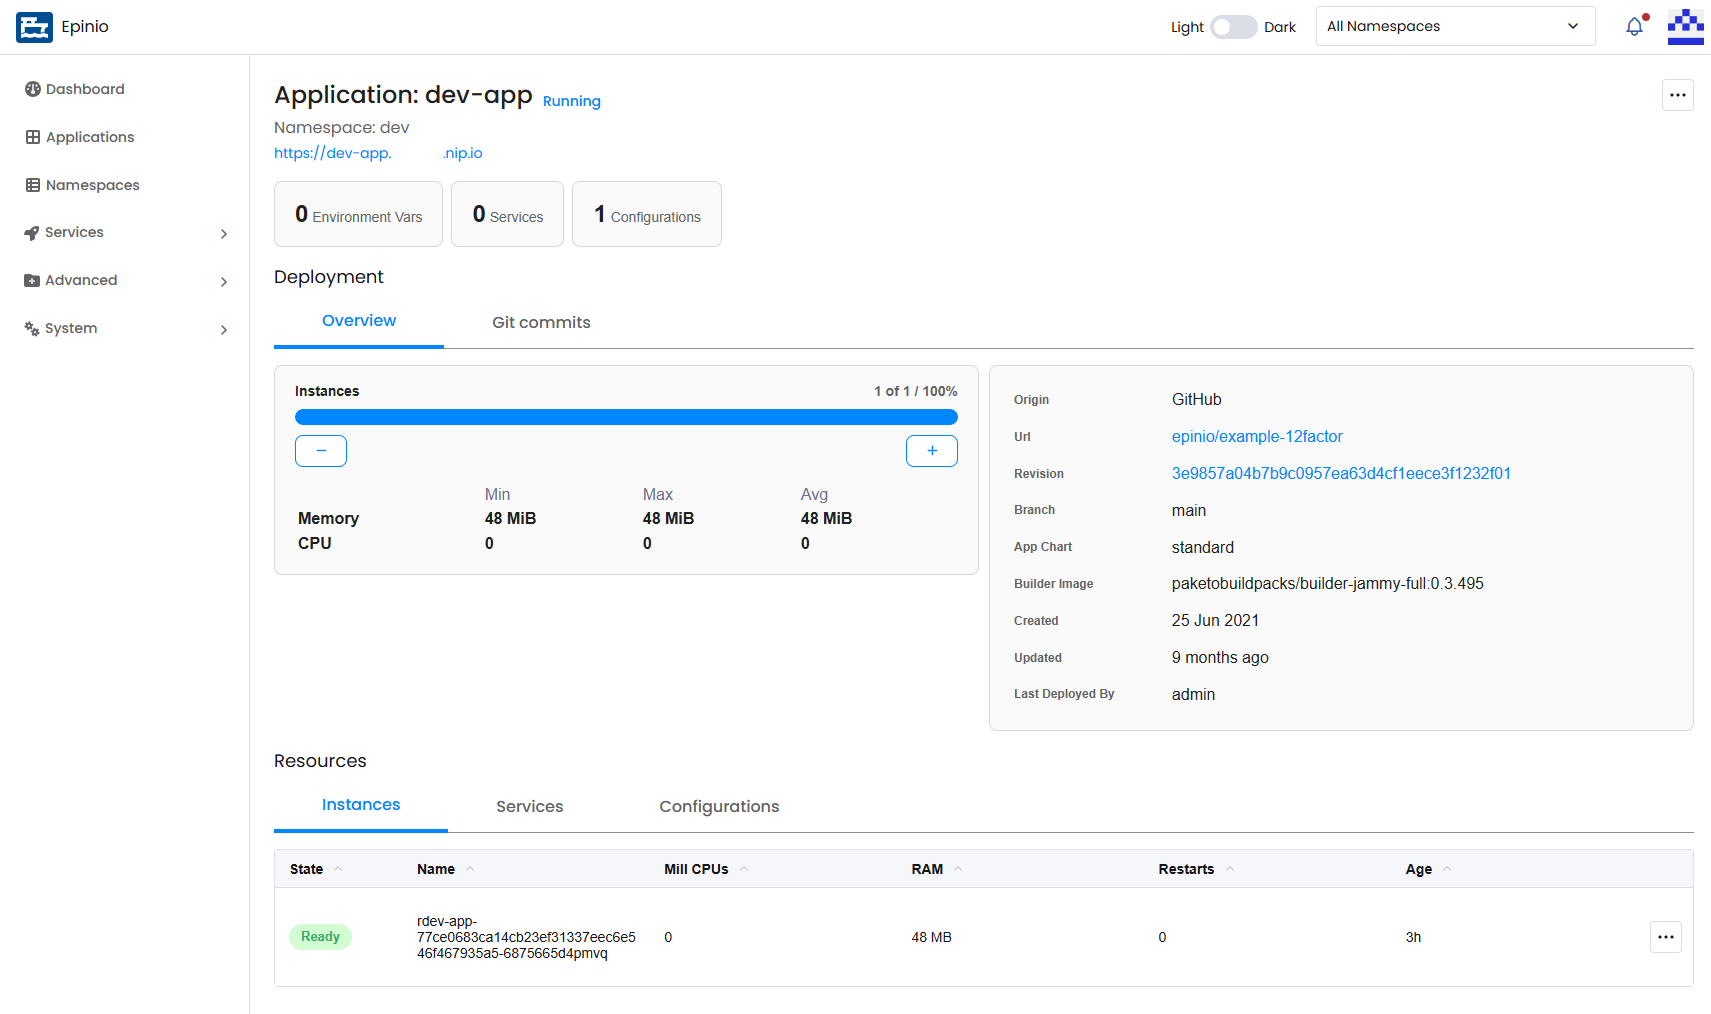
Click an application name in the table to open its details page. From here you can change the number of instances, view bound services and configurations, and, if your source is from Git, change the commit to trigger a rebuild.
Show details for an application:
epinio app show myapp
Edit an Application
- UI
- CLI
To edit an application, open the action menu on the table row or details page and select Edit. Changes to the application source will require a rebuild and redeployment.
The Build Method and Dockerfile Path can be changed here as well, so an application can be moved between buildpack and Dockerfile builds without recreating it.
Update an application:
epinio app update myapp
epinio app update cannot change an application's build method or Dockerfile path.
Those are set at build time, so change them with epinio app push, either through
the flags above or through the application's manifest.
Delete an Application
- UI
- CLI
To delete an application, open the action menu on the table row or details page and select Delete.
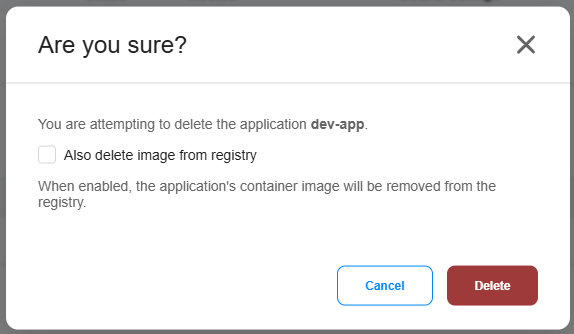
The confirmation dialog offers two optional cleanups, both unchecked by default:
- Remove the application's container image from registry deletes the built image from the container registry.
- Delete the application's persistent storage deletes the PersistentVolumeClaims holding data the application wrote.
Delete an application:
epinio app delete myapp
Delete it along with its container image and its persistent data:
epinio app delete myapp --delete-image --delete-pvc
Both flags default to false. See epinio app delete for the full flag list.
What deletion removes
Deleting an application always removes its workload, its configuration bindings, its stored sources, any staging jobs, and the staging PersistentVolumeClaims holding the build cache and the source blobs. Those staging volumes only ever hold data that Epinio rebuilds from object storage on the next stage, so nothing is lost by reclaiming them.
Application data volumes are treated differently. An
application chart that provisions storage, for example a
chart deploying a StatefulSet with volumeClaimTemplates, leaves behind
PersistentVolumeClaims holding data your application wrote. Epinio preserves those by
default, so deleting and recreating an application does not silently discard a database.
Opt in with the checkbox or --delete-pvc when you do want that data gone.
Deleting persistent storage cannot be undone. Whether the underlying PersistentVolume is removed with the claim, and whether its data is recoverable afterwards, depends on the reclaim policy of the StorageClass that provisioned it.
Epinio selects an application's data volumes by the app.kubernetes.io/name label within
the application's namespace. A volume your chart provisions without that label is not
deleted, and has to be removed with kubectl. See
storage lifecycle for how
this affects capacity planning, and
Removing leftover PVCs without Epinio
for a kubectl Job-based cleanup when the application is already gone or Epinio is unavailable.
Additional Actions
The following actions are available from the action menu in the Applications table or on the Application Details page.
App Shell
- UI
- CLI
Selecting App Shell in the action menu opens an interactive terminal session inside the running application container for debugging, inspection, and troubleshooting.
Open a shell session inside a running application container:
epinio app exec myapp
App Logs
- UI
- CLI
Selecting App Logs in the action menu opens a terminal displaying the application's runtime output, including informational messages, warnings, errors, and other diagnostic information.
Stream an application's runtime logs:
epinio app logs myapp
Last Build Logs
- UI
- CLI
Selecting Last Build Logs in the action menu opens a terminal displaying logs from the latest application build.
Stream logs from the latest application build:
epinio app logs myapp --staging
Rebuild
- UI
- CLI
Selecting Rebuild in the action menu creates a new application image from the application's source code and deployment configuration, then deploys the updated version.
Rebuild and redeploy an application:
epinio app restage myapp
Restart
- UI
- CLI
Selecting Restart in the action menu restarts an application's running instances without rebuilding its container image or changing its configuration.
Restart an application's running instances:
epinio app restart myapp
Export
- UI
- CLI
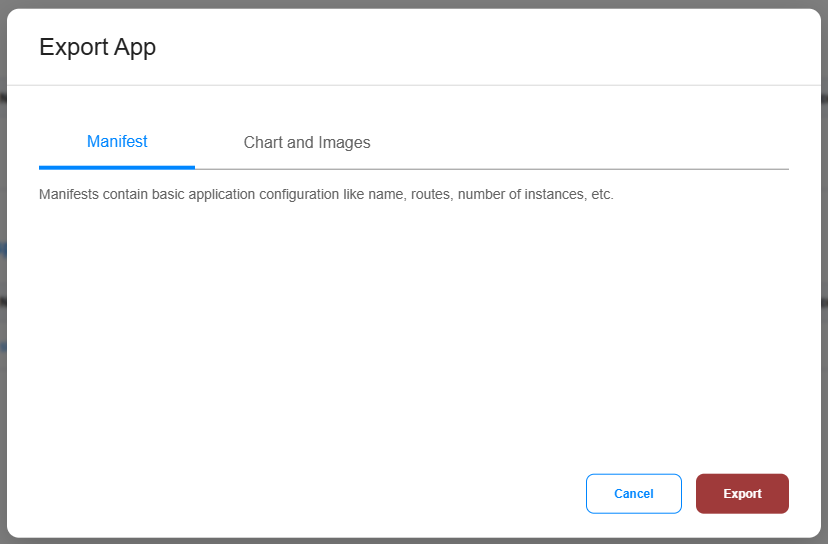
Selecting Export in the action menu downloads an application's deployment artifacts — including its manifest, application charts, and container images — for backup, sharing, or importing into another Epinio environment.
Export an application's artifacts:
epinio app export myapp
Additional CLI Commands
For additional documentation on the CLI commands above, along with additional commands, see the epinio app CLI reference.
See also
- Build modes, for choosing between buildpacks and a Dockerfile
- Application manifests, for the full set of manifest keys
- Supported applications
- Builder images and application charts